Hi guys, thanks for the great replies!

Moving fish and tanks around as you decribe will work, keep the cycled filters going on the temporary tanks so the bacteria and the fish get plenty of oxygen.
Yup, i've got all that organised. The internal filter media will be going in the internal filter in the rio 180. I can't move the internal filter itself because it is glued to the glass. I will also add a old fluval 3 to that tank two seen as it will hold a 8-9" geophagus. The fluval 304 will be going into the other container which i think will hold the loaches. I also have a aqua pro 3 if needed. I also have a air pump (Though that is working outside at the moment with some goldfish fry.).
One way of making a photo tank is to use a small tank with an exterior background, and nothing in the tank itself. A small tank like you are describing would likely work. As narrow as possible. Add a sheet of glass if you need to to keep the fish in a confined spot.
Set up your camera on a tripod, practice focus, lighting and other settings without a fish (Put a rock or a plant in the tank to focus on)
When you are ready to take the pic fill the tank from the main tank (Wherever the fish is coming from, and take quite a few pics whenever the fish lines up right. You could try feeding the fish to see if this helps bring him into the focus area.
Do not keep the fish in there for too long, the bright lights will likely heat up the water too much.
Yup, all suggestions will be taken on board. I will also only keep the fish in there for a minute tops, if i don't get a good photo; oh well, the fishes welfare is more important.
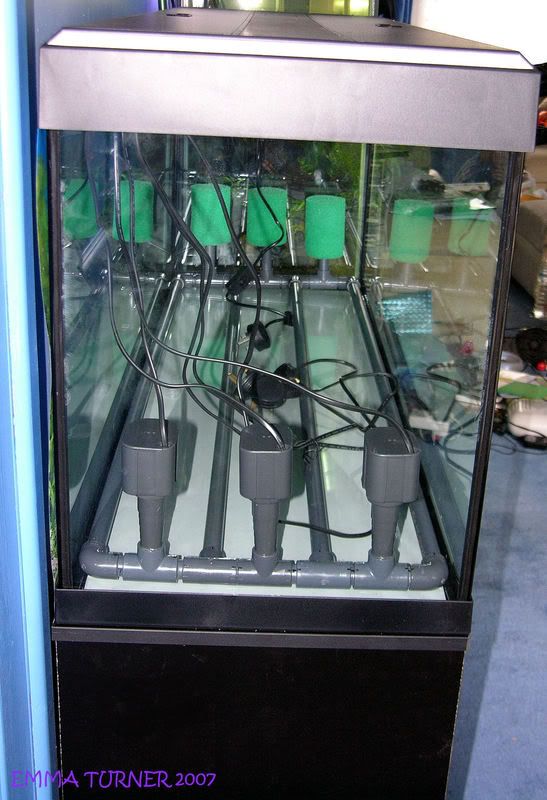
What diameter pipework are you planning on using? I have the 20mm Aqua Medic stuff in both river tanks with the Maxijet 1200s. One river tank is 3ft long and has two MJ 1200s (and 2 intake sponges), the other tank is 4ft long and has 3 MJ 1200s and 3 intake sponges.
I'm going to B&Q on that day too so i will go and see what size piping they have, i will probably try and get the same as you though so i know it will fit nicely. I don't really have the patience to fiddle around with small things like PH inlets.

You will need some solvent weld glue (like Tangit) to hold the pipework together. I glued the bottom of the adapters into the Ts, but did not use glue at the top, so the powerheads could be removed from the adapters for routine maintenance now and then. Sorry if this sounds obvious. I thought it would be better to glue the bottom bits in place, so that whenever I had to remove the powerheads, me pulling them out would not pull the adapters out from the T-pieces (they were pushed in tightly when glued). And like Martin advises in his excellent article on building the manifold, definitely assemble everything first, mark it (you can see the marker pen marks on the pipework in the above pic), take it apart again, then glue each bit into place. You only have a very limited time to work with the solvent weld glue so line up the marks quickly.
Aquarium silicone was on the list to get on Friday. I'm going to my lfs for dechlorinator, some more wood, sand, lighting tubes, frozen food (I'm cutting down dried food as much as possible), maxijet powerheads (If they do them), background, aquarium silicone and then to B&Q for piping, large pebbles, medium pebbles and some pea gravel. I think i'm gonna need a larger wallet.

I can make the manifold during the week before.

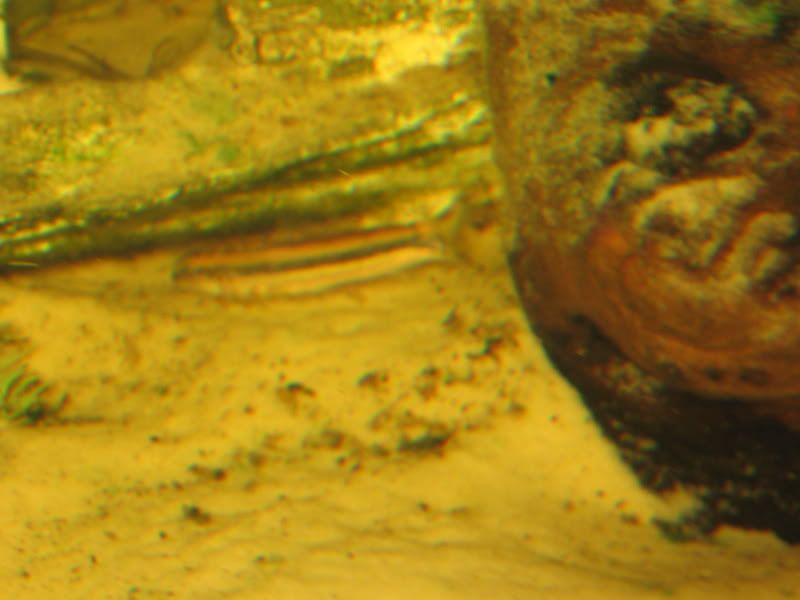
Can't wait to show the sinibotia too, one in particular has grown beyond belief.
Thank you very much
David


